
How long should broiler chickens have the lights on? The answer changes as the flock grows. Newly placed chicks need enough light to find feed and water; growing birds also need a reliable period of darkness within each 24-hour cycle. One fixed light duration cannot serve every stage equally well.
A practical broiler lighting schedule combines day length, uninterrupted darkness, light intensity, and a consistent timer. This guide shows how to review those elements across a grow-out cycle and how LED controls can help a farm deliver the intended program.
Quick answer: newly placed chicks typically start with 23 hours of light and 1 hour of darkness. From day seven, move toward 4-6 hours of continuous darkness, adjusted to the flock’s breed and the breeder guide.
How Light Duration Changes During Broiler Grow-Out
Placement and the first days
Provide a long light period so newly placed chicks can orient themselves and locate feed and water. For example, the Ross 2025 management handbook describes 23 hours of light and one hour of darkness on day one. This is an example from a specific breeder guide, not a universal prescription.
After the first week
Introduce a longer, uninterrupted dark period as the birds develop. The Ross guidance moves toward four to six hours of continuous darkness from day seven through much of grow-out. A farm should adapt the exact timing to its strain, bird response, housing conditions, and applicable welfare requirements.
Throughout the cycle
Keep the schedule predictable. Record the programmed hours and check that the actual lights switch on and off as intended; a timer setting alone does not show the light the birds experience.
Why Broilers Need an Uninterrupted Dark Period
A dark period is a planned part of the daily rhythm, not unused time in the lighting schedule. It gives birds a predictable opportunity to rest and helps farmers avoid keeping the house illuminated around the clock throughout grow-out.
Protect that period from unintended light. Check doors, windows, control panels, and work routines for light leaks or repeated interruptions. If the farm needs to change the lighting program, make the transition according to its flock-management guide rather than making a sudden overnight adjustment.
Check Light Intensity Across the Broiler House
Day length describes when lights are on; intensity describes how much light reaches the birds. During placement, adequate illumination helps chicks locate feeders and drinkers. Later, the target intensity may change, but it should remain suitable for inspection and normal activity under the chosen management program.
Measure at bird level in several parts of the house, including corners, the center, and areas beside feed and water lines. Note shadows from equipment and changes caused by mounting height or lamp dirt. Adjust fixture position and output based on those measurements rather than relying on the timer display alone.
Use Dimming to Deliver the Lighting Schedule
Dimming makes it possible to change light intensity without changing the planned duration of light and darkness. Gradual transitions can also make switch-on and switch-off less abrupt than an immediate jump between full output and darkness.
szAMB offers 0/1-10V dimmable driver options for poultry lighting systems. When specifying a 100W, 200W, or 300W setup, confirm the exact driver model, load capacity, compatible LED fixtures, wiring arrangement, and supported dimming range. The control system should reproduce the farm’s schedule reliably at every installed light.
Select Poultry Lights for the House and Control Plan
Broiler house lighting equipment should match both the environment and the intended lighting program. Moisture, dust, cleaning routines, mounting height, and fixture spacing all affect long-term use and the distribution of light.
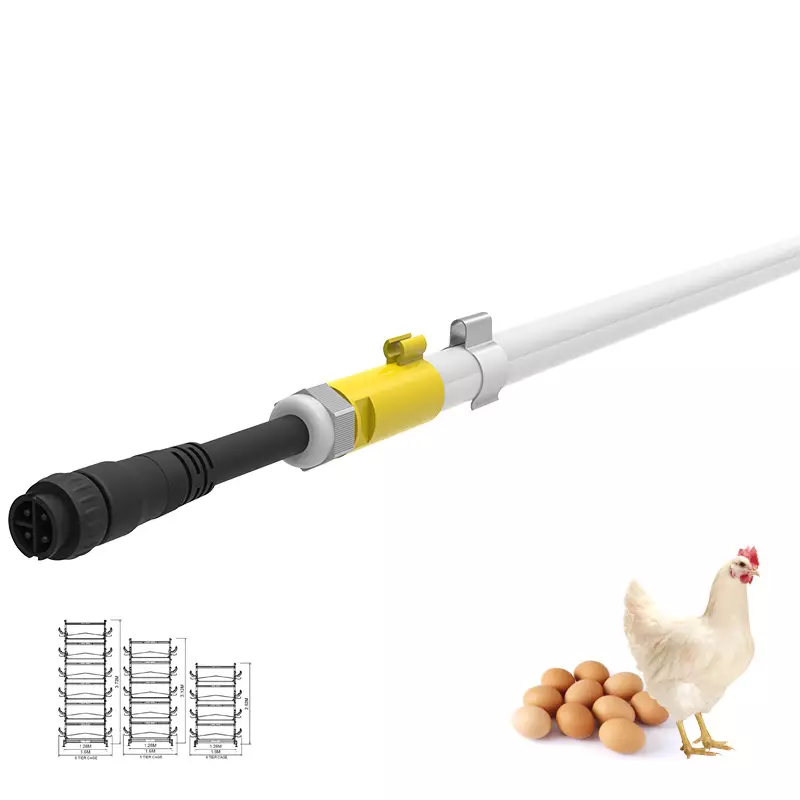
szAMB’s T8 broiler poultry lighting range and its dimmable LED light dimmer options can be evaluated as a system. Check the selected luminaire’s protection rating and optical distribution against the specific product specification. Then confirm power supply, driver compatibility, control zoning, and replacement access before installation.
This approach turns an equipment list into a practical design: the lights provide the coverage, while the controls deliver the programmed intensity and timing.
A Broiler Lighting Plan to Check on Farm
Before choosing fixtures, record the breed or strain, placement date, house dimensions, feeder and drinker layout, natural daylight, and existing controls.
Then review the lighting plan:
- Set stage-specific light and dark hours from the applicable breeder guide.
- Protect a continuous dark period and check for unwanted light leaks.
- Measure illumination at bird level throughout the house.
- Confirm the driver and luminaire can deliver the planned dimming range.
- Track bird activity, feed and water access, and flock performance after adjustments.
Lighting should be assessed with ventilation, temperature, nutrition, and flock health. If a schedule needs changing, document the reason and the result rather than treating hours of light as the only variable.
Build a Lighting Program Around Your Broiler House
There is no single number of light hours that suits every broiler flock from placement to processing. A dependable program changes with the birds’ stage, provides a protected dark period, and delivers suitable light intensity across the house.
Planning a new broiler house or upgrading an existing lighting system? Share your house layout, flock strain, grow-out schedule, and current controls with szAMB. Our team can help review fixture placement, dimming-driver compatibility, and product options for your project. You can also review broiler lighting systems before contacting our team.